The kalavai client is the main tool to interact with the Kalavai platform, to create and manage pools and also to interact with them (e.g. deploy models). Let's go over its installation.
Requirements to run the client
For seed nodes:
- A 64 bits x86 / ARM64 based Linux-based machine (laptop, desktop or VM)
- Docker engine installed with privilege access.
- Python 3.12+
gccandpython3-devinstalled
For workers sharing resources with the pool:
- A laptop, desktop or Virtual Machine (MacOS, Linux or Windows; ARM or x86)
- Workers should be on the same network as the seed node (or a shared VPN).
- Docker engine installed (for linux, Windows and MacOS) with privilege access.
- Python 3.12+
gccandpython3-devinstalled
Ports
Once a machine is part of a pool, the following ports must be enabled and open to accept and process workloads:
Seed nodes:
- 2379-2380 TCP inbound/outbound
- 6443 TCP inbound
- 8472 UDP inbound/outbound
- 10250 TCP inbound/outbound
- 51820-51821 UDP inbound/outbound
Worker nodes:
- 6443 TCP outbound
- 8472 UDP inbound/outbound
- 10250 TCP inbound/outbound
- 51820-51821 UDP inbound/outbound
- 5121 TCP inbound/outbound
Install the client
The client is a python package and can be installed with one command:
pip install kalavai-client
Check out specific pre-requisites for NVIDIA, Windows and AMD.
Create a local, private pool
To create your own computing pool, you will need at least one machine (the seed) and (optionally) one or more workers. See Kalavai concepts for an overview of AI pool architecture. Note that seed machines should always be available for the platform to remain operational.
You can create a seed by self-hosting the open source platform, limited to same network machines only (or shared VPN).
1. Create a seed
In any machine with the kalavai client installed, execute the following to start a seed node:
kalavai pool start <name>
Where
$ kalavai gui start

[10:11:13] Using ports: [49152, 49153, 49154]
[+] Running 2/2
 ✔ Network kalavai_kalavai-net  Created0.1s
And then start the GUI locally:
kalavai gui start
This will expose the GUI and the backend services in localhost. By default, the GUI is accessible via http://localhost:49153.
2. Add worker nodes
Important: if you are self hosting seed nodes, only nodes within the same network as the seed node can be added successfully.
Increase the power of your computing pool by adding resources from other devices. For that, you need to generate a joining token. You can do this by using the seed GUI or the CLI.
[On the seed node] Using the CLI
In the terminal, run the following to obtain your joining token:
kalavai pool token --worker
[On the worker node] Join the pool
Once you have the joining token, use it on the machines you want to add to the pool. Workers can use the GUI interface to make this step easier too:
From the command line, join with:
kalavai pool join <TOKEN>
3. Explore resources
For both seed and worker nodes, the dashboard shows a high level view of the LLM pool: resources available, current utilisation and active devices and deployments.
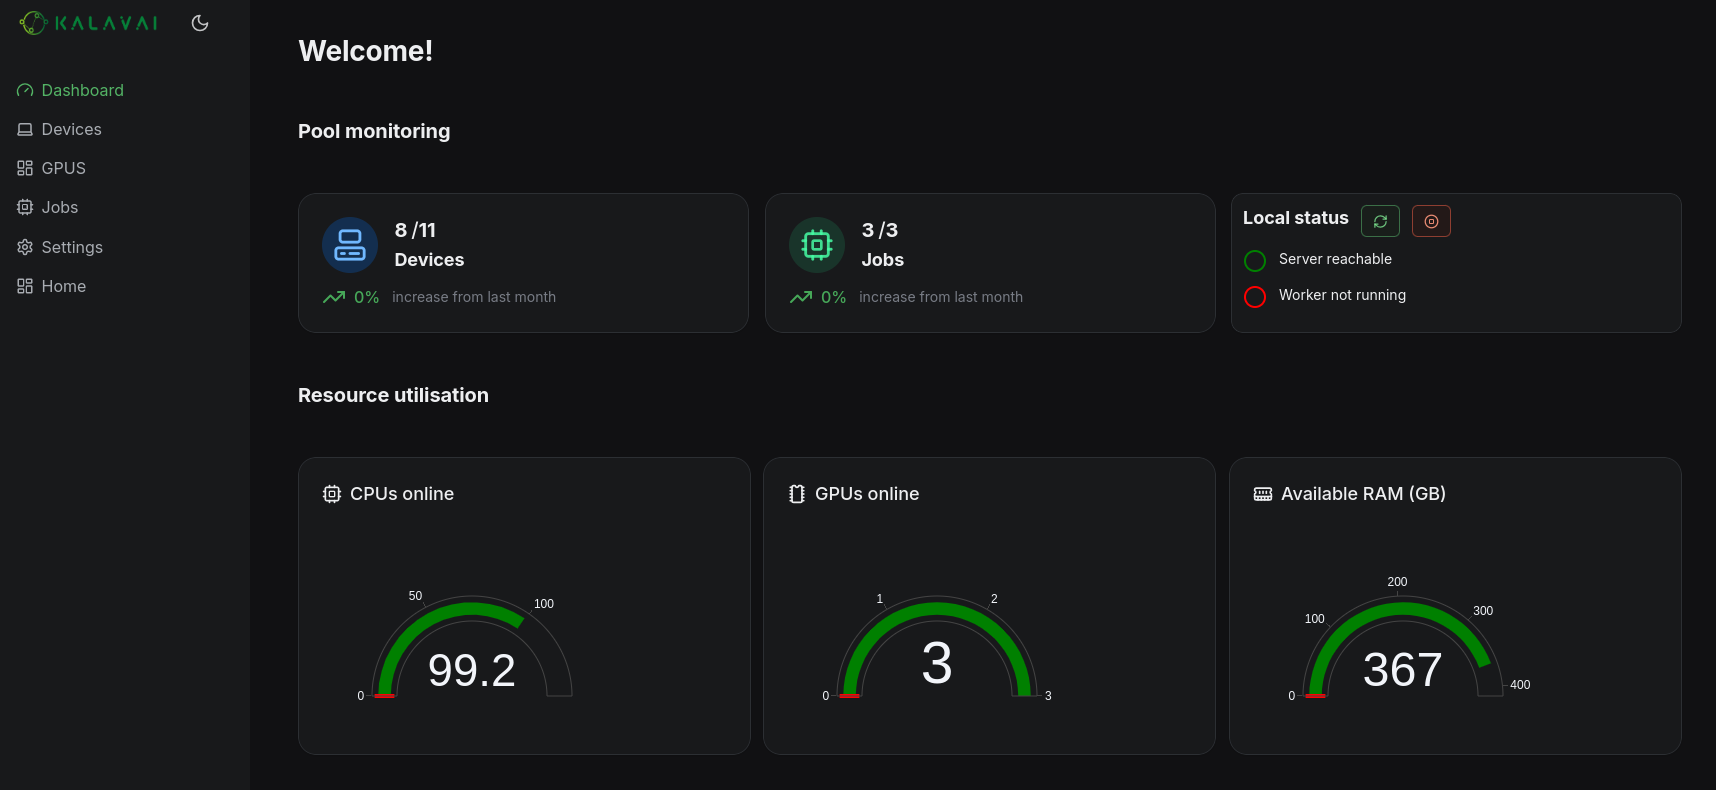
Use the navigation bar to see more details on key resources:
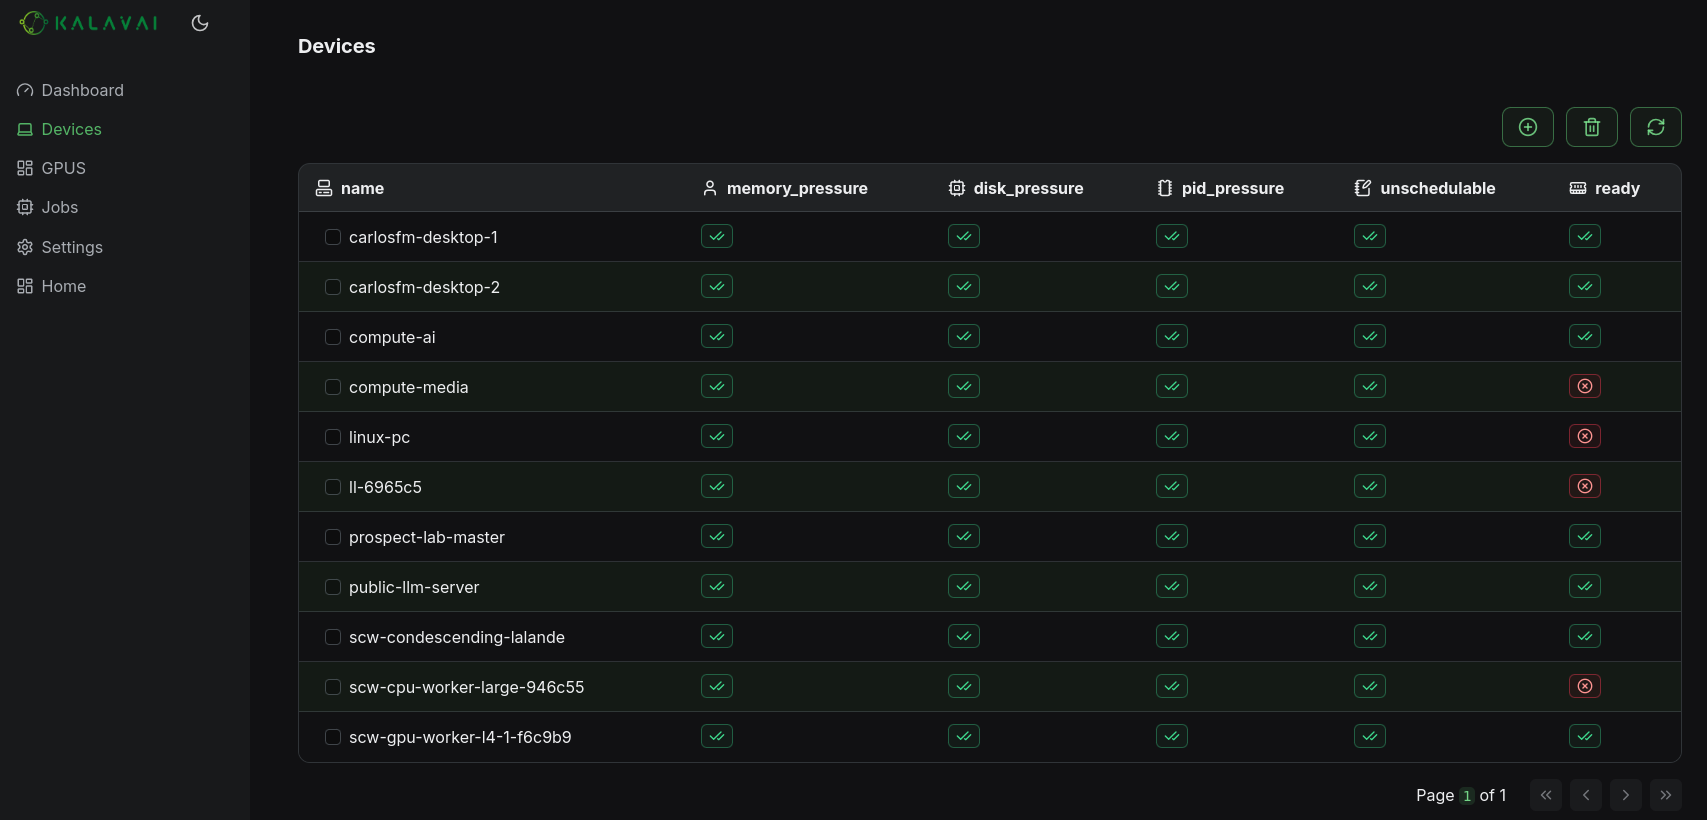
- Resources: every machine and GPU devices connected to the pool and its current status
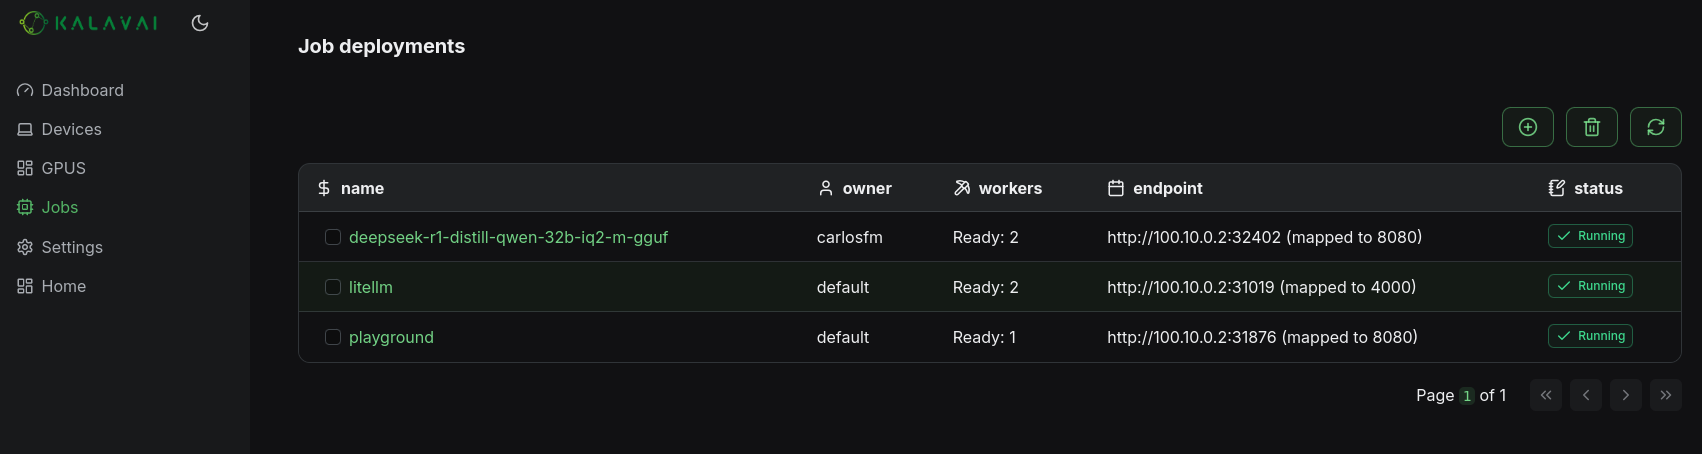
- Jobs: all models and deployments active in the pool
4. Leave the pool
Any device can leave the pool at any point and its workload will get reassigned. To leave the pool, use the command line CLI on the worker you wish to disconnect:
kalavai pool stop
You can also remove a worker node from the pool using the pool GUI by navigating to Resources and clicking the x button next to the device you want to remove.
What's next
Now that you know how to get a pool up and running, check our model deployment tutorial on how to self-host an LLM with OpenAI compatible API.